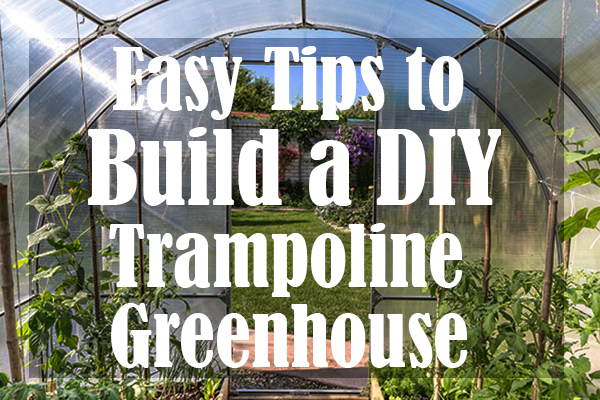
Easy Tips to Build a DIY Trampoline Greenhouse
My neighbor has been a gardener for many years. As a result, many greenhouses populate his backyard. I’ve always wondered how he managed to make them all. One day, I decided to pay him a visit and I found him dismantling an old trampoline. “So, what’s the trampoline for?”, I asked. He told me he was about to turn the trampoline into a greenhouse.
Being somewhat of a DIY enthusiast myself, I asked him to show me the steps. Not only that, but he also shared some tips for making a DIY trampoline greenhouse. Ready to jot down our trampoline greenhouse plans? Let's go!
The Essentials
Besides a disused trampoline, we will need:
- a drill
- screws
- plastic sheets
- nails and washers
- piping tubes
- wood planks
Should we need anything else, I will mention it below, as I explain the steps.
Step #1 — The Frame

Take the cover and springs off the trampoline. Additionally, we might want to store the springs in a box. Then, remove the trampoline legs. Since we only need the circle part, this works with both older and newer frames. Still, make sure that the frame has some sturdiness to it.
Split the circle part in half. We can do this with a handsaw or a disc cutter if we have one. This will leave us with two halves which are going to serve as ends of the greenhouse.Next, we will ail two piping tubes along the length of the two halves.
Before putting the sides up, pre-drill the piping where the cross pipes will go. As we will see, this is done much more easily while the halves are on the ground. We can use T-posts to additionally support the back and front.
Now it is time to add the cross pipes. About seven should do the trick, three on each side and one in the middle.
Step #2 — The Plastic

Once we are done building the frame, it is time to cover it in plastic. Before deciding on the length of the cross pipes, check the available plastic sizes. This is to avoid making a frame we cannot cover using only one sheet. Roll the plastic over the top, tighten it and nail it to the frame. Additionally, we can tuck the plastic underneath the frame.
Cover the back side of the greenhouse with plastic in the same way, making sure it is tight and tucked underneath the frame. Optionally, we can cover the entire floor in plastic for added insulation.
As for the plastic itself, 6-mil plastic is suitable, especially for colder areas. If this is not the case, we can go with 4-mil. The plastic lasts about two years at most, depending on its exposure to sunlight and cold. No matter how durable it is, plastic still deteriorates over time.
Step #3 — The Door

Now, we are only left with the front side and the door. Attach two horizontal boards to the frame. This is where we will fit the door later. Also, we can taper the bottom end of the planks, so they sink into the ground a bit.
Cover the front end with plastic, as we did with the back end. Then, cut out the plastic where the door should be and save it for the door frame.
Build a door frame using thinner wooden bars. We can make the corners more sturdy by adding triangle braces to them. Next, we will nail the plastic we previously cut out to the frame.
Finally, connect the door to one horizontal board using hinges. We can also add a stopper on the other end. That will prevent the door from opening by itself.
Ready To Do It Yourself?
If you correctly followed the above-mentioned steps, you are now ready to make your own DIY trampoline greenhouse.
The one my neighbor built took little time to make, without breaking his bank (around $70 to be exact). Of course, there are always ways to avoid buying additional material. If you have some of the essentials lying around at home, then use those. If it is too windy, use wooden crossbars, as they are a bit heavier. Visit our How to repurpose or recycle a trampoline guide for more ideas.
Share this article and tell us your ideas and experiences in the comments below!

